Hey there! 👋 I'm your UX assistant, here to uncover the hidden gems of your website's user experience. Ask me anything! 🚀
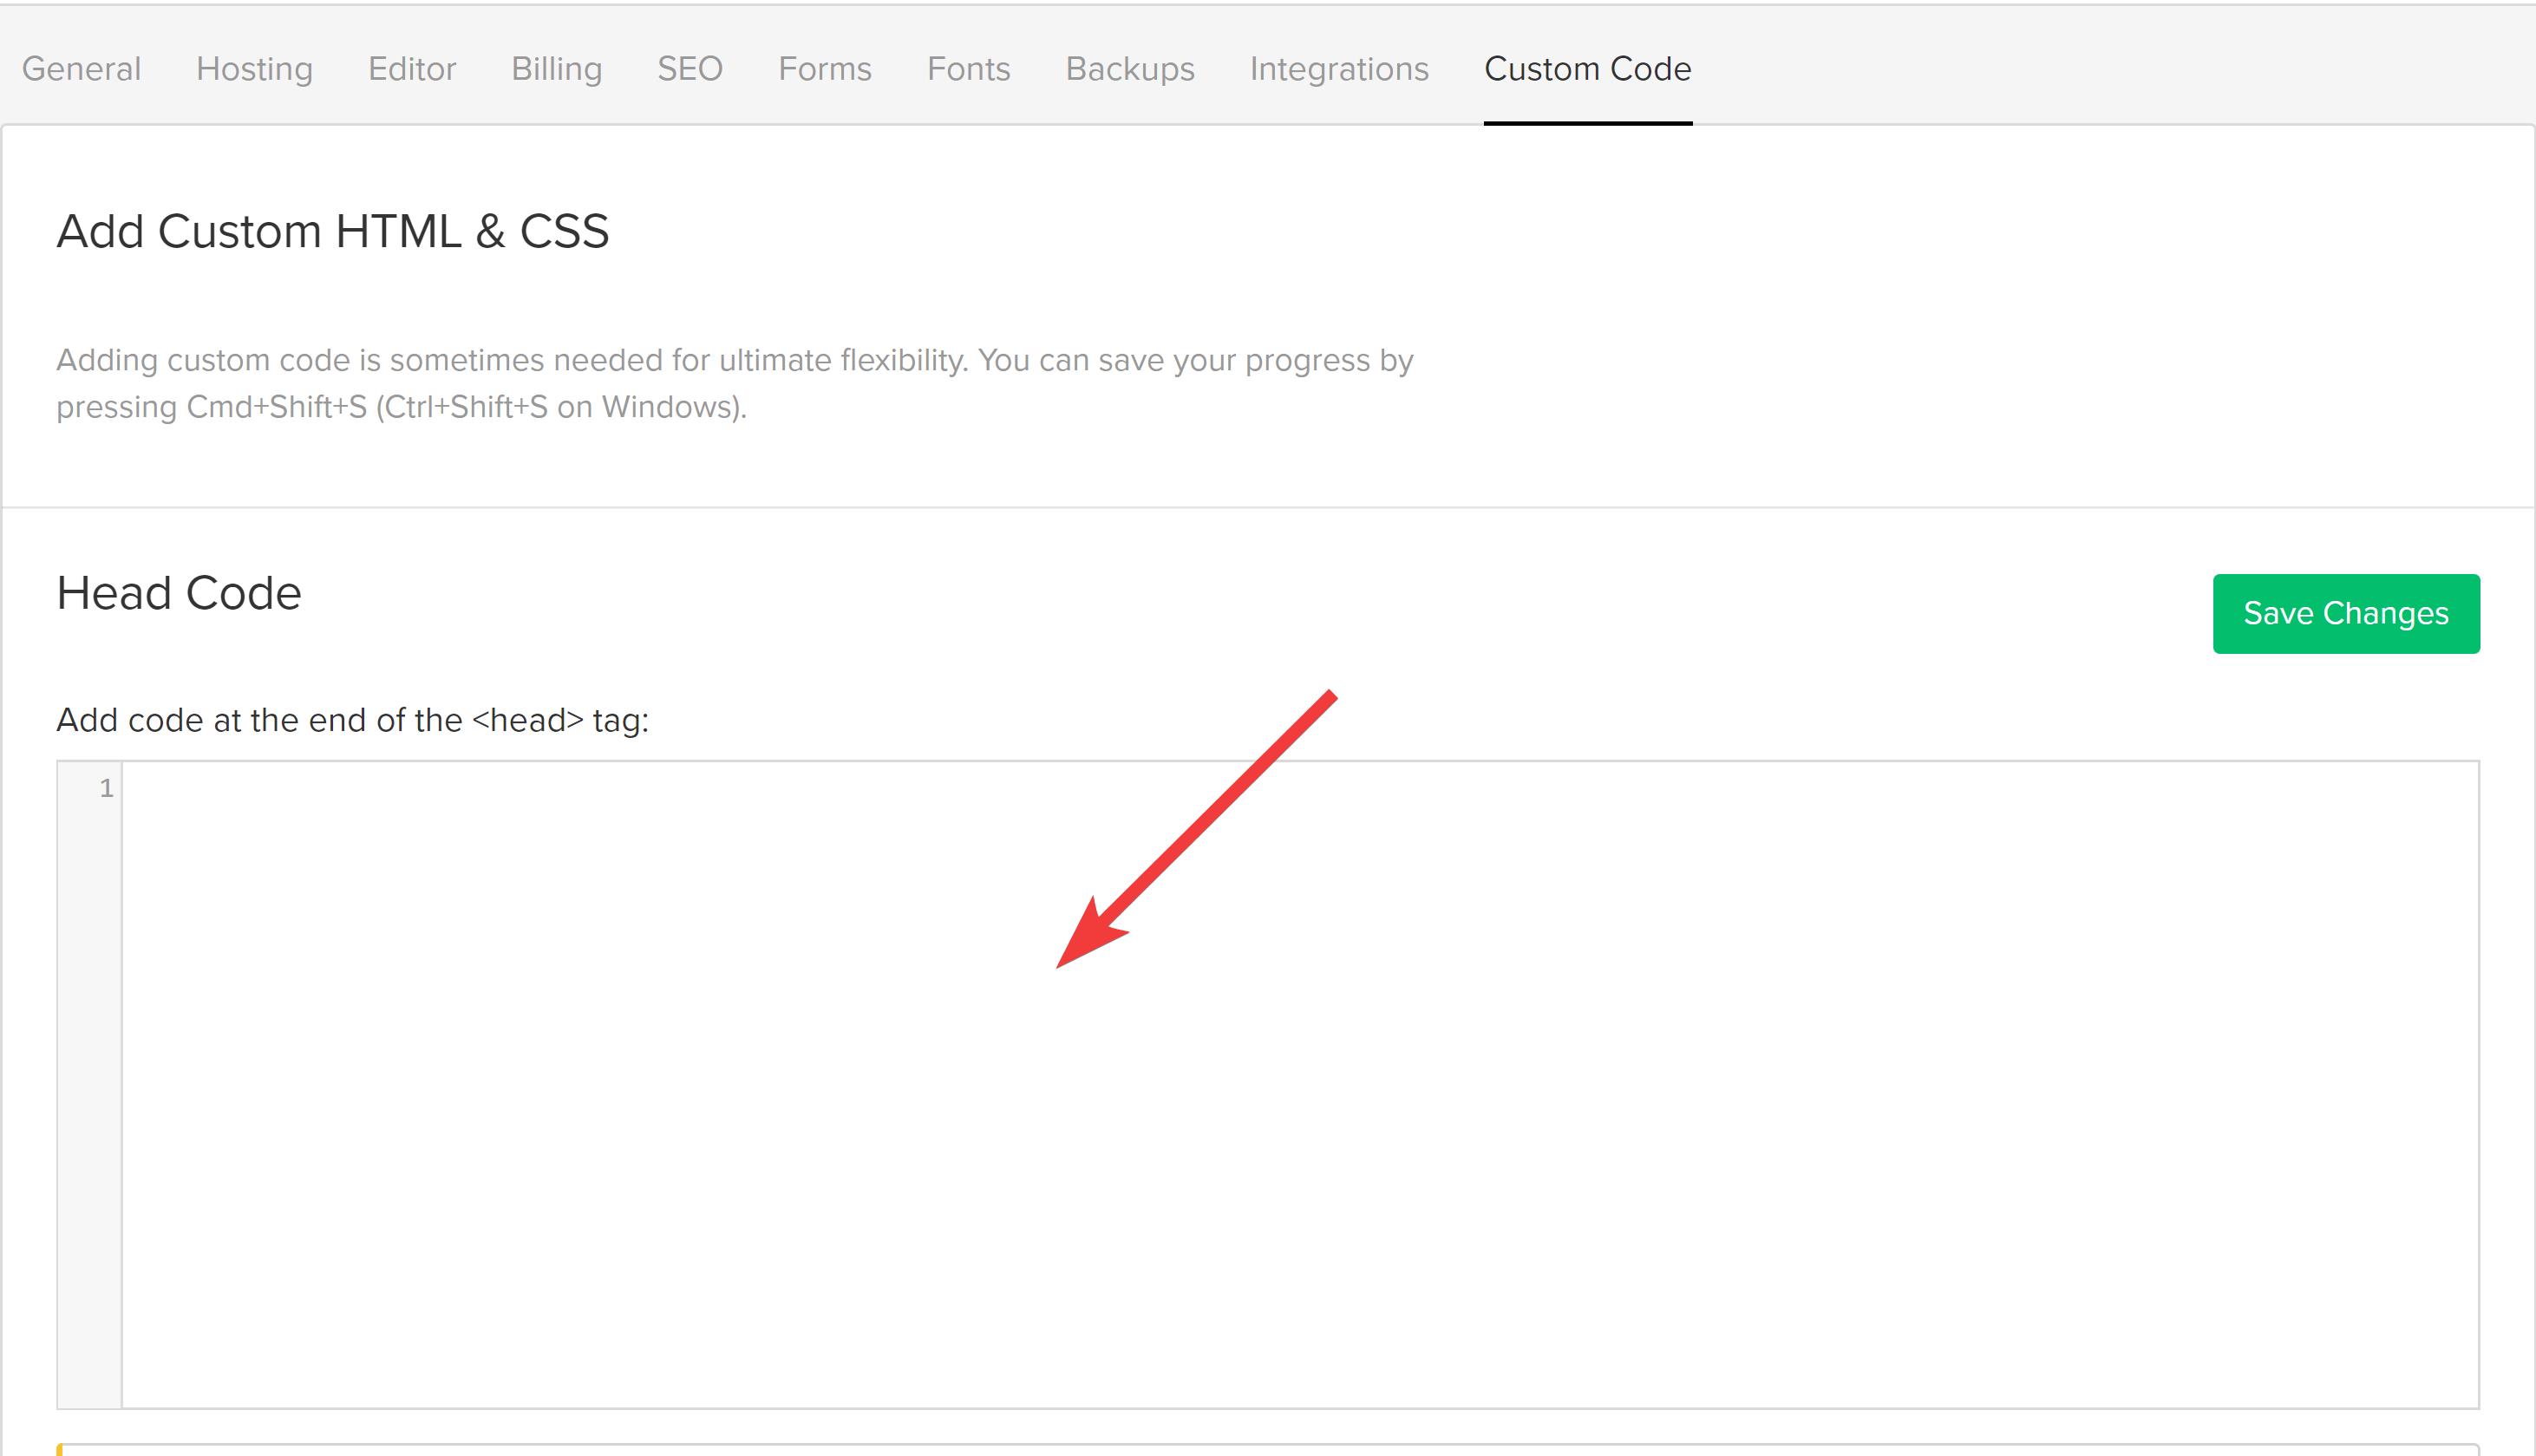
This article shows you how to install the UXsniff Tracking Code on a site created and hosted using Webflow.
Webflow may change parts of this process from time to time
While we try to keep track of any major changes to popular platforms, companies may change parts of their software over time that we are unaware of. For the most up-to-date information about managing scripts in Webflow, check their documentation.

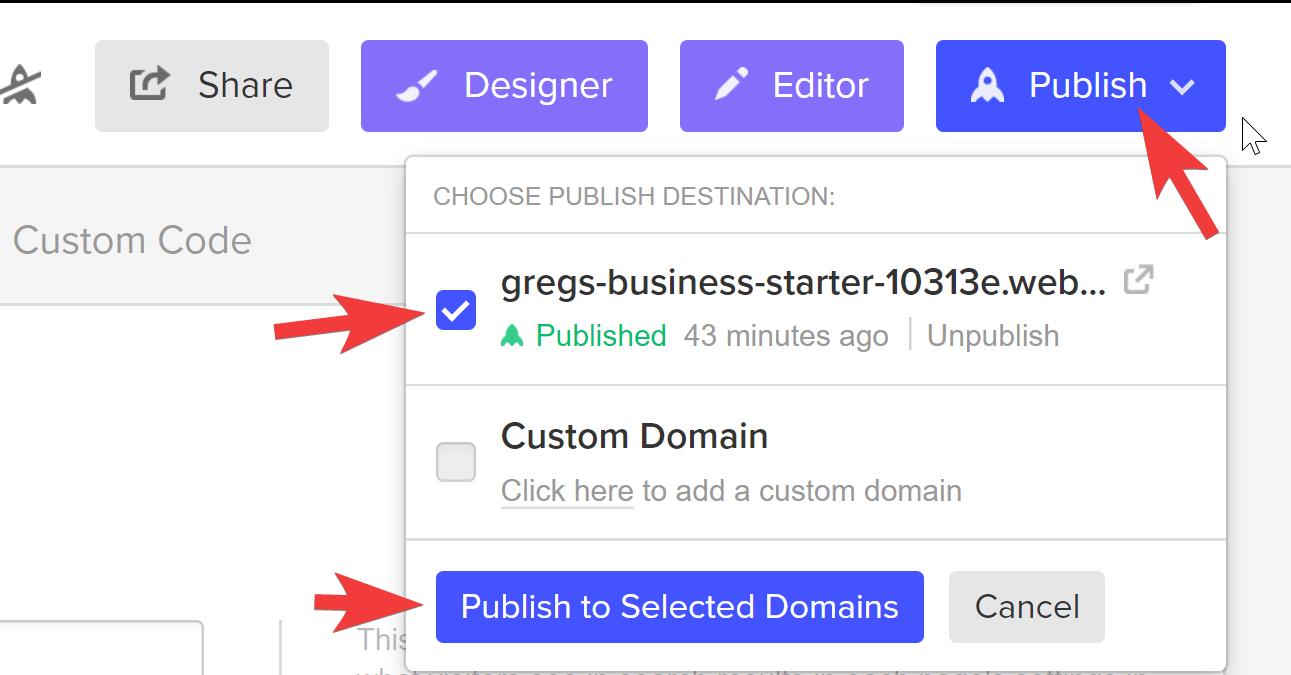
When asked to select a domain, you should select the top-level domain for the Site listed in UXsniff.